Using CMake and Google C++ Testing Framework with QT Creator
Thought I’d hone up my test-driven dev skills in an anticipation of a new job, so I picked up a copy of “Modern C++ Programming with Test-Driven Development” by Jeff Langr. I’ve written C++ unit tests before using Boost’s test framework, but in this book Google Mock, now part of Google Test, is used, together with cmake, which I haven’t used much either (gcc having been my compiler friend).
What follows are the steps I took to get stuff up and working on Ubuntu 16.10.
Let’s get cmake
$ sudo apt-get install cmake
Then I made a new dir to fool around in
$ mkdir TestDrivenDev
And clone the Google test repo there
$ git clone https://github.com/google/googletest.git
Then I made a build sub-directory inside the google test dir
$ cd googletest/
$ mkdir mybuild
The name of the directory can be anything, the book’s examples use this name, so I can just copy the readymade scripts later without altering.
I enter the build directory and run cmake from there.
$ cd mybuild/
$ cmake ..
I now have a makefile so all I need is to issue make to build GTest and GMock.
At this point let’s check those frameworks out.
I made a simple c++ project (non-qt)
I need to specify cmake as the build system in the project settings though. So I followed this guide
In Tools > Options > Build & Run > CMake > Add. I need to give path to cmake. Where is it?
$ which cmake
/usr/bin/cmake
Great, so what we have looks like this:

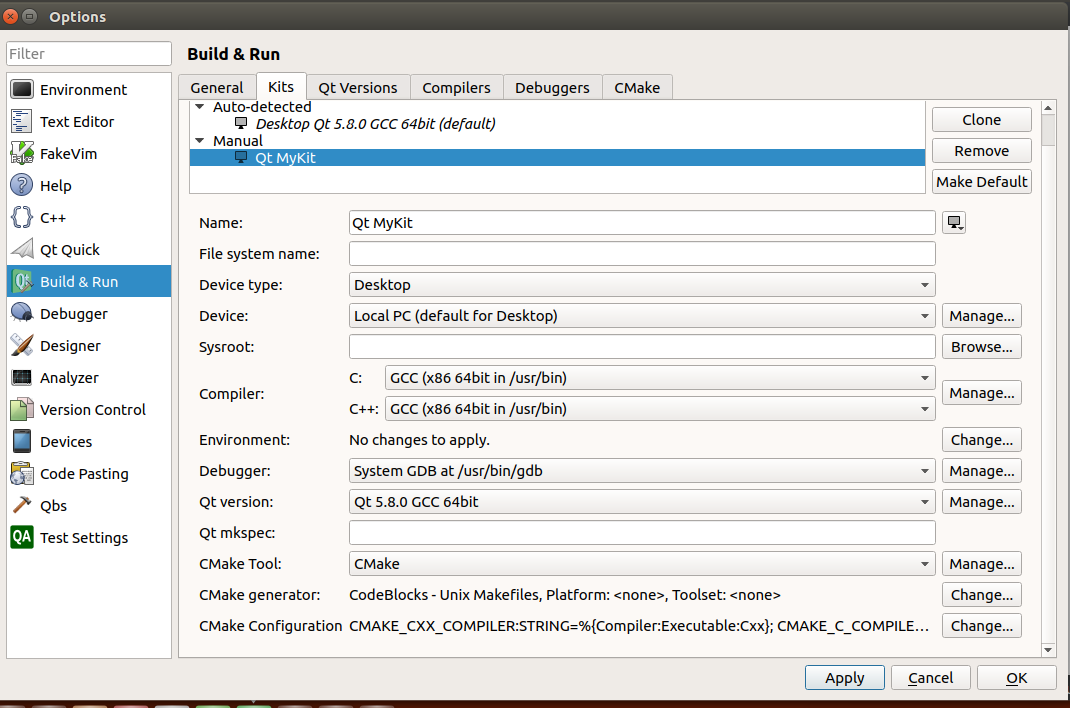
We also need to add a kit in here. This is what mine looks like:
At this point, if you wish, you can build a simple helloworld with CMake.
But let’s move on to the next stage, getting Google Test to work.
Qt Studio has an experimental Auto Test plugin, we just have to activate it if we want to use Google Test. Head over to the plugin list at Help > About Plugins
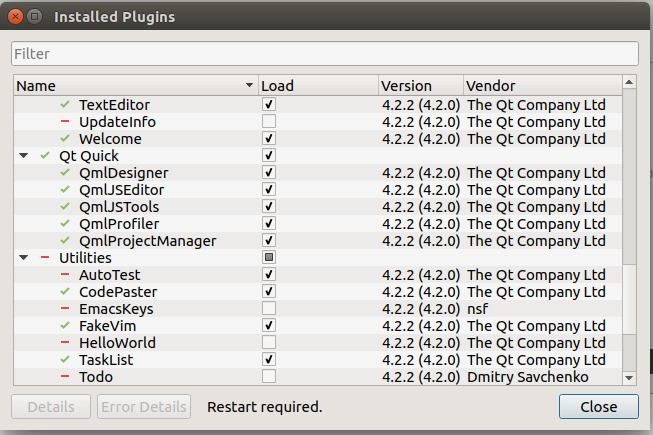
Locate “AutoTest”, check it and restart QT Creator.
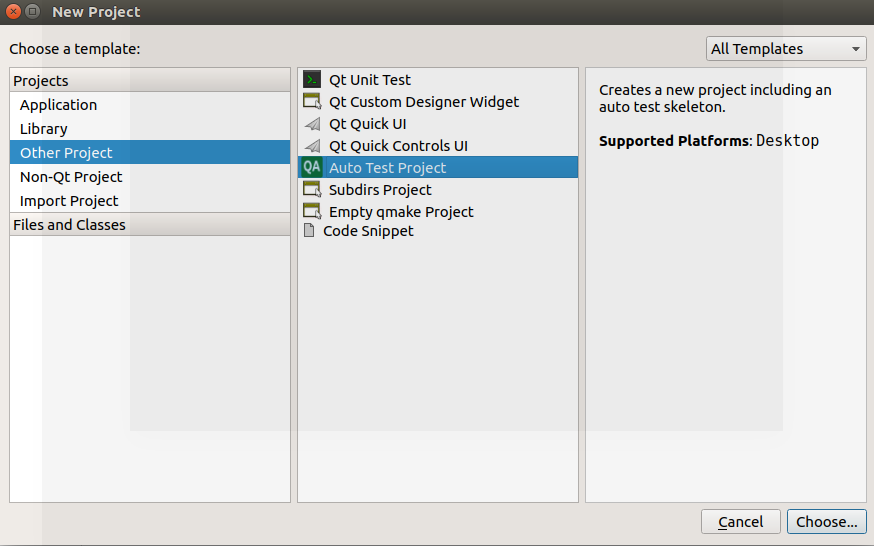
Now, if you create a new project, choose”Other Project”, you will find a new type available, “Auto Test Project”. So let’s pick it.
Hit “choose”, and enter your project name and location. After that, you will be asked for some info. Here’s what I put in there:

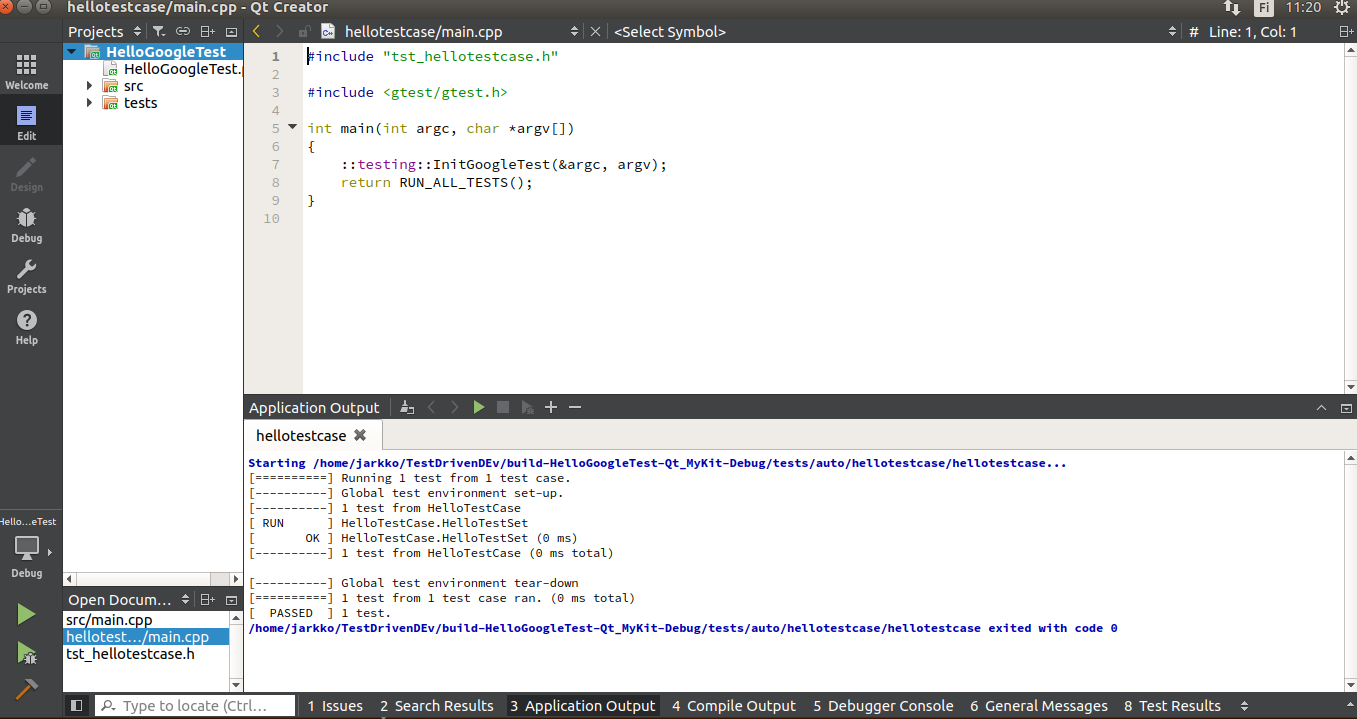
Hit Next. From there on, everything should be smooth sailing, QT Creator will just whip out a bare-bone structure for you to start with.
Ok cool. By the way, there are more than one way to pet a cat, and this Craig Scott blog post illustrates how to add GTest directly to your CMake project by automatically downloading the source and building it.