Setting up a Jekyll Blog
Hello, and welcome to my blog. I’m a mediocre schmuck developer just like you… well, okay, if you aren’t mediocre schmuck, then more power to you! But if you aren’t a developer, then I’m afraid you will find everything here very boring.
Mostly I will be jotting down and taking notes of what kind of development-related stuff I’ve been doing, so if I have to do it again, I have a ready reference for it. Hopefully that will save someone else’s time too. Ok, so how about if I start off with telling you how I set up this blog.
I’ve had this github.io site for some time already, so picture me looking for some lightweight, easy to maintain blogging system to run on it. Well, it looks like Jekyll is the thing. But it’s a little confusing for an old fogey like me to get a grip on these things. This article gave me a glimmer of understanding, but those instructions aren’t up-to-date anymore!
Anyway, that first step. To get Jekyll, I need to use gem, the Ruby package manager. I’m not familiar with ruby, and I don’t have it on my Ubuntu 16.10 machine.
Of course my first impulse is to use sudo apt-get install ruby and that seems to work just fine, but then, when I type
$ gem install jekyll
Fetching: public_suffix-2.0.5.gem (100%)
ERROR:  While executing gem ... (Gem::FilePermissionError)
    You don't have write permissions for the /var/lib/gems/2.3.0 directory.
Now what? No, I’m not going to ‘sudo gem’. My next search for answer takes me to this Stack Overflow post, where I’m advised to remove the previous Ruby installation and re-install it using a rather daunting set of command-line-conjurations. After some hesitation, I sheepishly copy-paste all that, one line at a time, and next time I issue gem install jekyll it all works out.
So, starting from my local copy of my github.io site, I go up one level…
~/yarkol.github.io$ cd ..
… and next up I init the jekyll site
~$ jekyll new yarkol.github.io
Running bundle install in /home/jarkko/yarkol.github.io...
Ok good. Then I cd into the yarkol.github.io directory again and start the server
$ jekyll serve
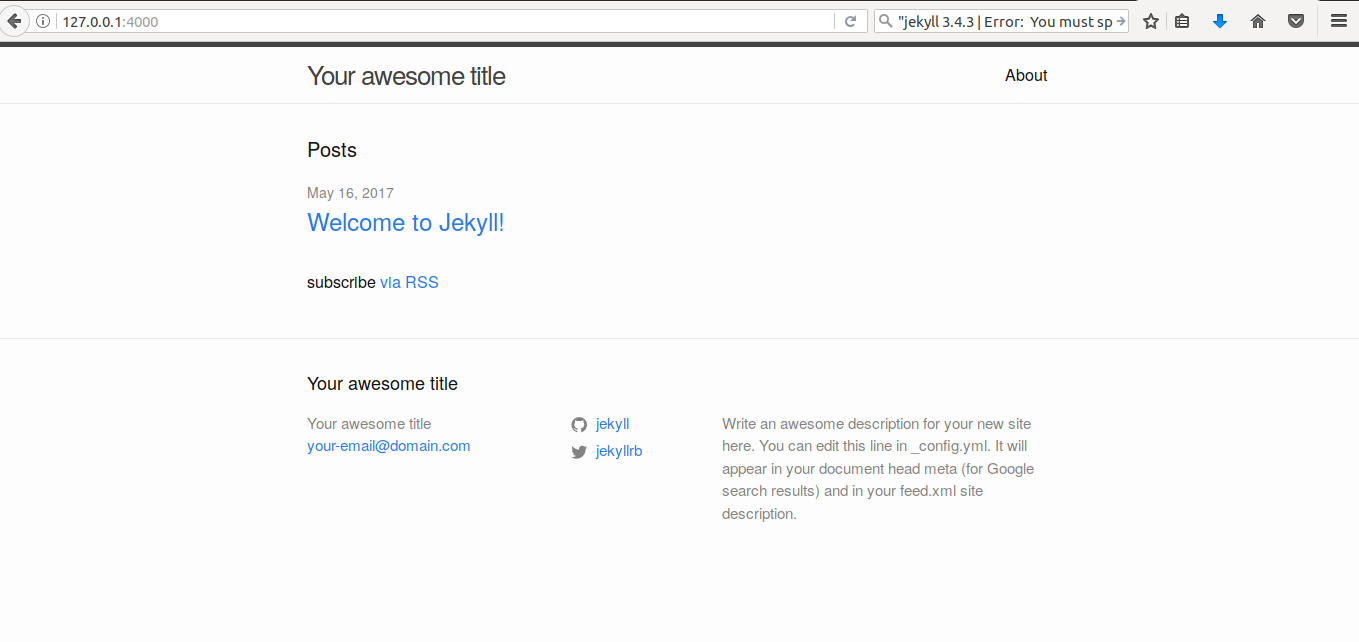
Then I go to check it in browser, http://localhost:4000, and hey presto! here’s my beautiful jekyll blog!
Flash my teeth in mirror.. and push the repo up to Github.
Then it’s just fun editing the markup files in the _posts folder. Also, the _config.yml needs to be edited for the basic features, and for learning Markdown (the markup language that Jekyll and Github use), here is a useful cheat sheet.
Ok, now that I have my first post written, I’d like to add Google Analytics and ability for visitors to leave comments. This turned out to be so simple that it took me a long time to figure it out.
Most of the tutorials I found on the net tell you that the files which dictate the behaviour of your site live in _includes and _layouts folders, so you need to modify those. The trouble is, my Jekyll site directory does not have those folders in it, and I could not understand what was going on!
It turns out that the aforementioned files are “stored in the theme’s gem, hidden from your immediate view”, to quote the official Jekyll website. That is, when the Jekyll site is installed, it uses a default theme, called Minima, and those folders are inside that themes directory, which belongs to a Ruby gem… You can find them by issuing this command in your local site directory:
~/yarkol.github.io$ bundle show minima
Now, you can see that the theme’s _includes folder has a file called google-analytics.html, and it contains the standard Google analytics snippet. Note that it has a site.google-analytics variable in a curly brackets, so what you have to do is to assign your tracking id to it. Where do you do that? Why, in the _config.yml! Just add this line
google_analytics: UA-XXXXX...
where UA-XXXXX… is your tracking id. Now if you push that to github, the analytic script will be added to all your posts!
There is also a ready-baked option to add Disqus commenting to your posts, but I was kind of turned off from that after coming across this post which explains what kind of yucky overhead Disqus brings to your site. While I’m deciding whether to pursue the solution offered in that article, you can contact me, should the need arise, via my email, shown below.